The phases of the proyect
New skills learned
Conclusions and future work
Exploration robot on the Moon and Mars
Phase 1. Approach
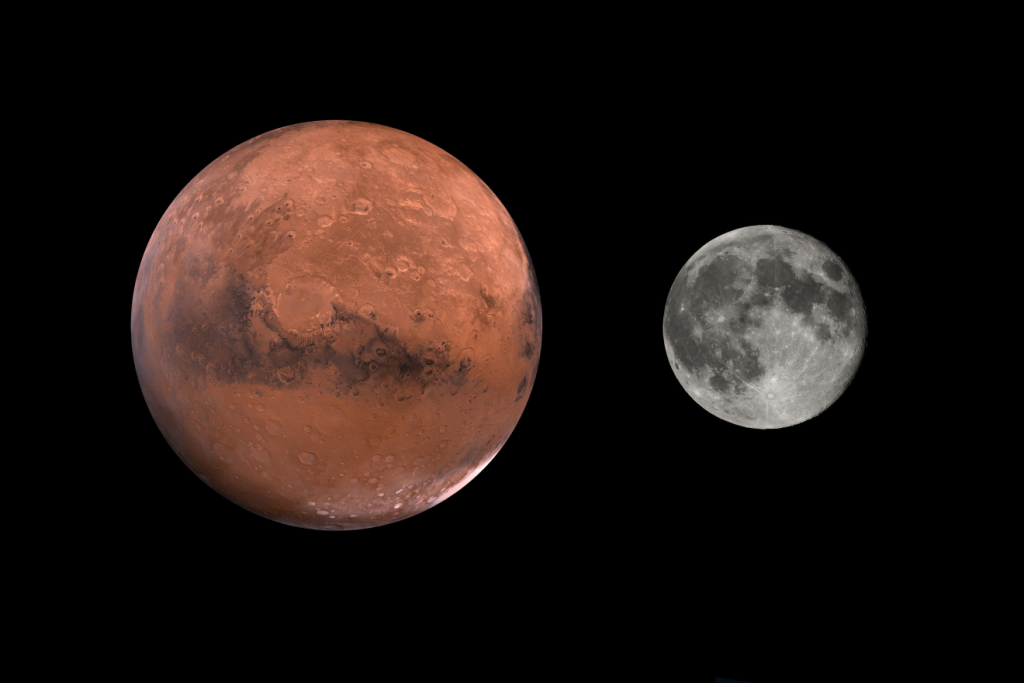
The caves of the Moon and Mars.
The European Space Agency suggests the creation of space colonies in the caves of these celestial bodies.
Studies of lava flows on the Moon and Mars reveal that their lava tunnels are 100 to 1,000 times larger than those on Earth, due to lower gravity. This makes them viable candidates for future space colonies.

That's where my team and I come in. At the beginning of the course, we were asked to create a robot to explore these caves and see if they really serve as colonies.
Ruedardo
It is a prototype robot dedicated to ADVANCED EXPLORATION. The robot is designed for exploring unknown places where access is difficult.
What does the robot do?
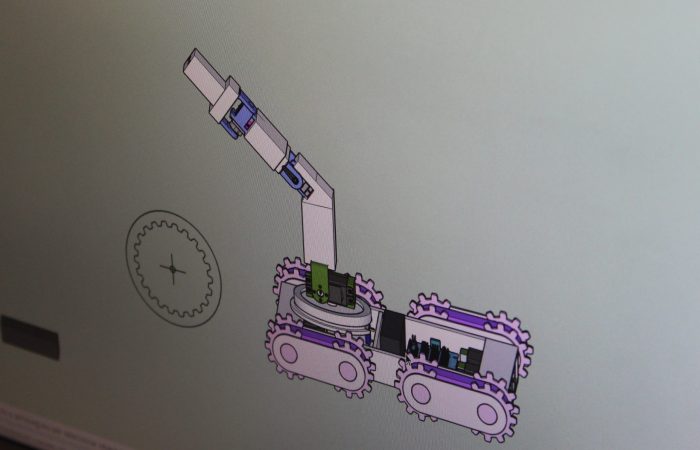
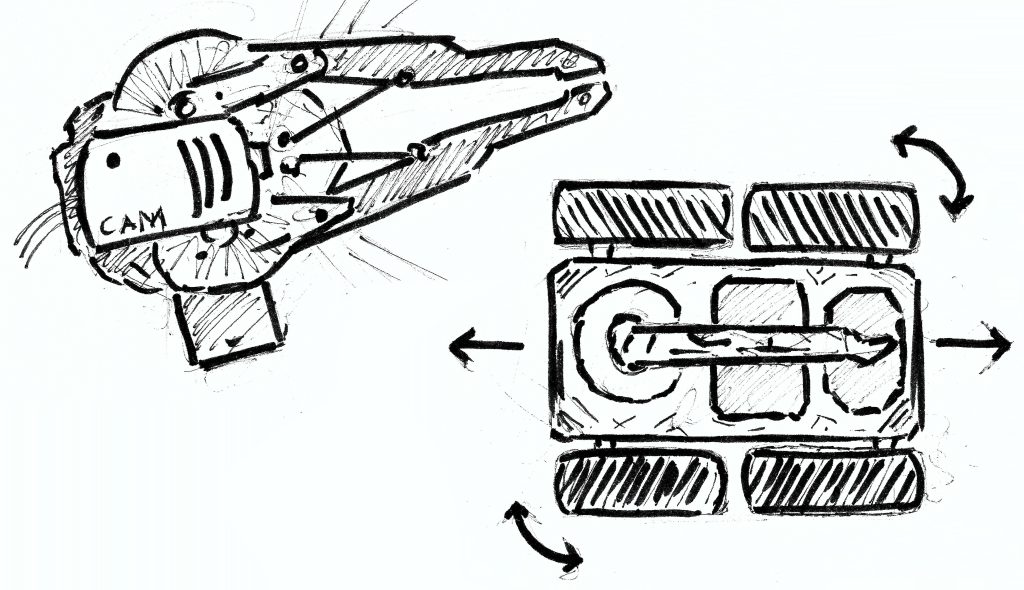
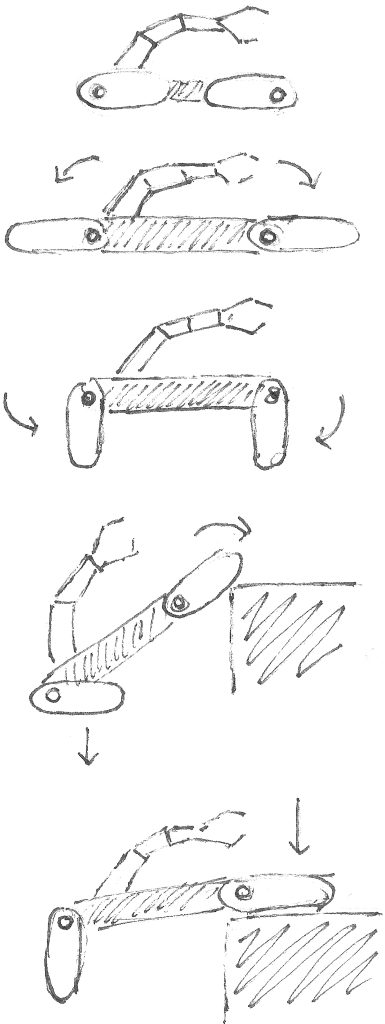
RUEDARDO has 4 independent motors that allow it to move and rotate on its own axis, thus achieving MOVEMENT IN ALL DIRECTIONS. In addition, it can advance on uneven terrain by rotating each wheel/track a maximum of 180º.
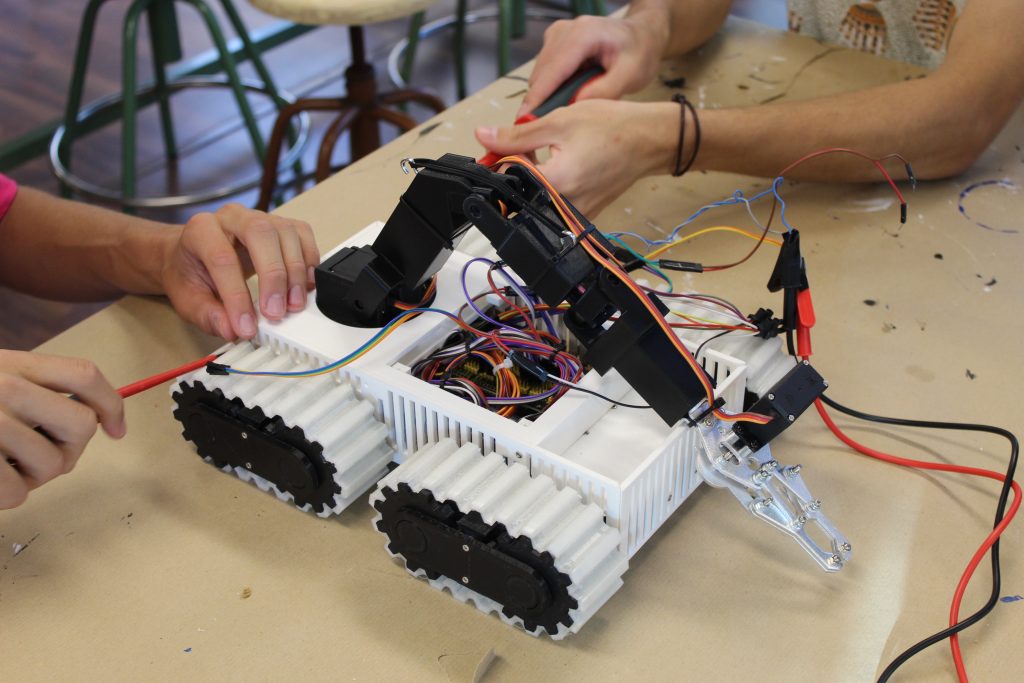
It can also collect soil samples with an ARTICULATED ROBOTIC ARM, thus reaching all possible angles.
This prototype includes a CAMERA placed at the end of the robotic arm, with which you can obtain a CLEAR AND CLEAN VISION of unexplored terrain.
Technologies
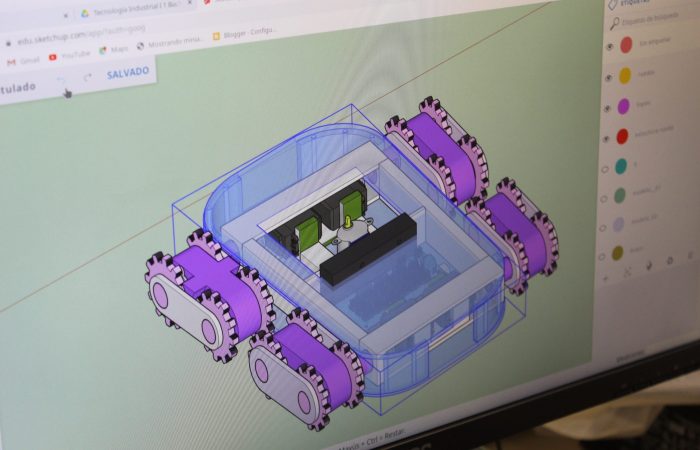
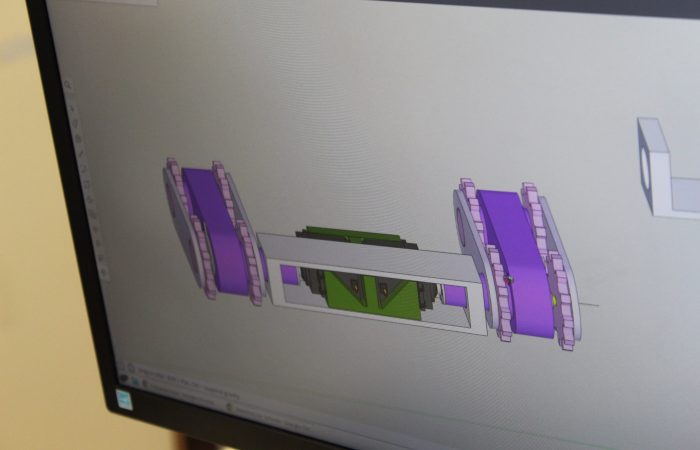
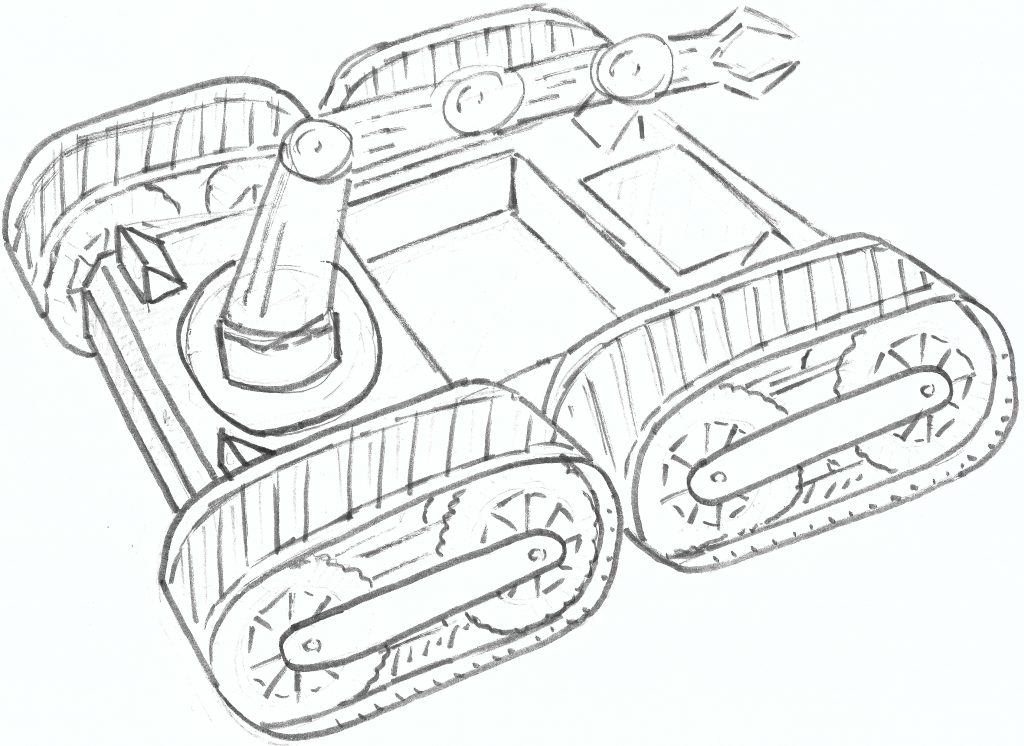
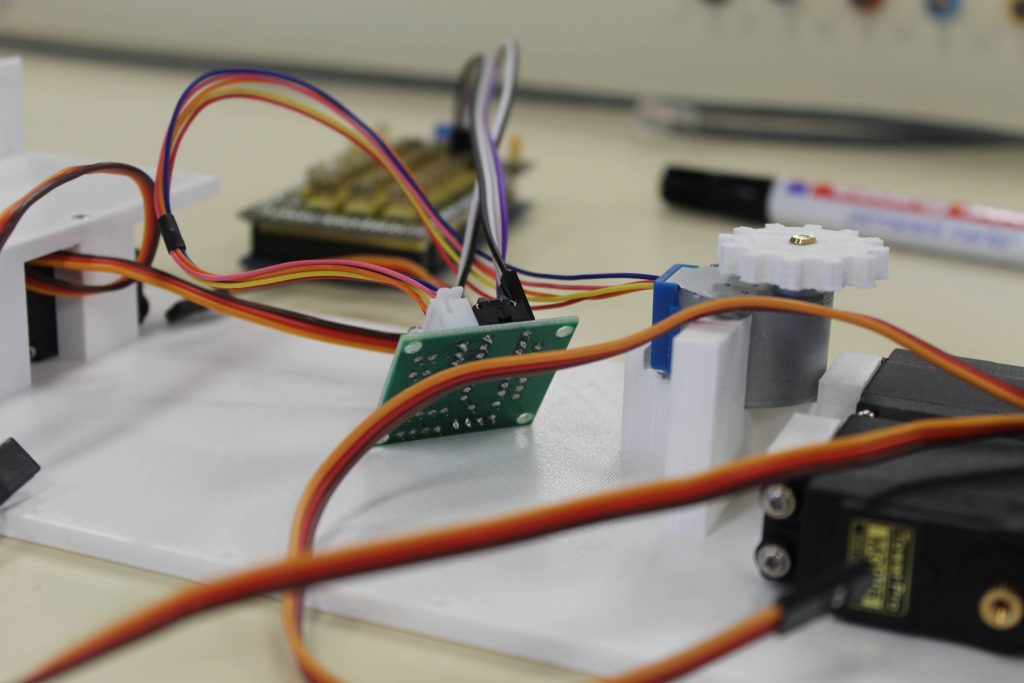
For its movement, it has a stepper motor in each WHEEL/TRACK, and these are also articulated with servomotors with UP TO 10 kg of force, which achieves one of the most characteristic functions of the robot: moving forward on uneven terrain.
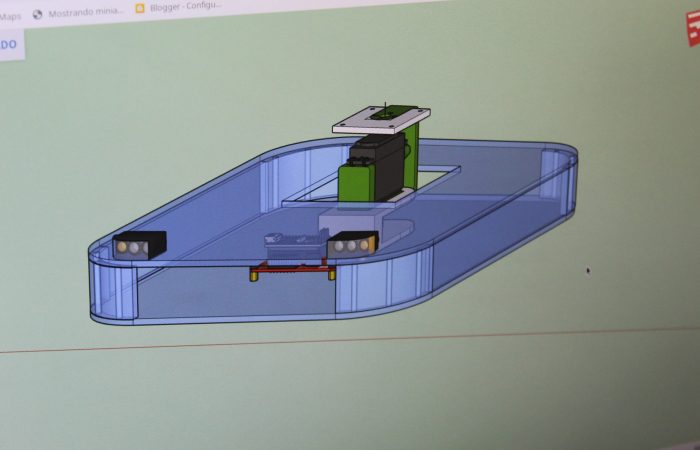
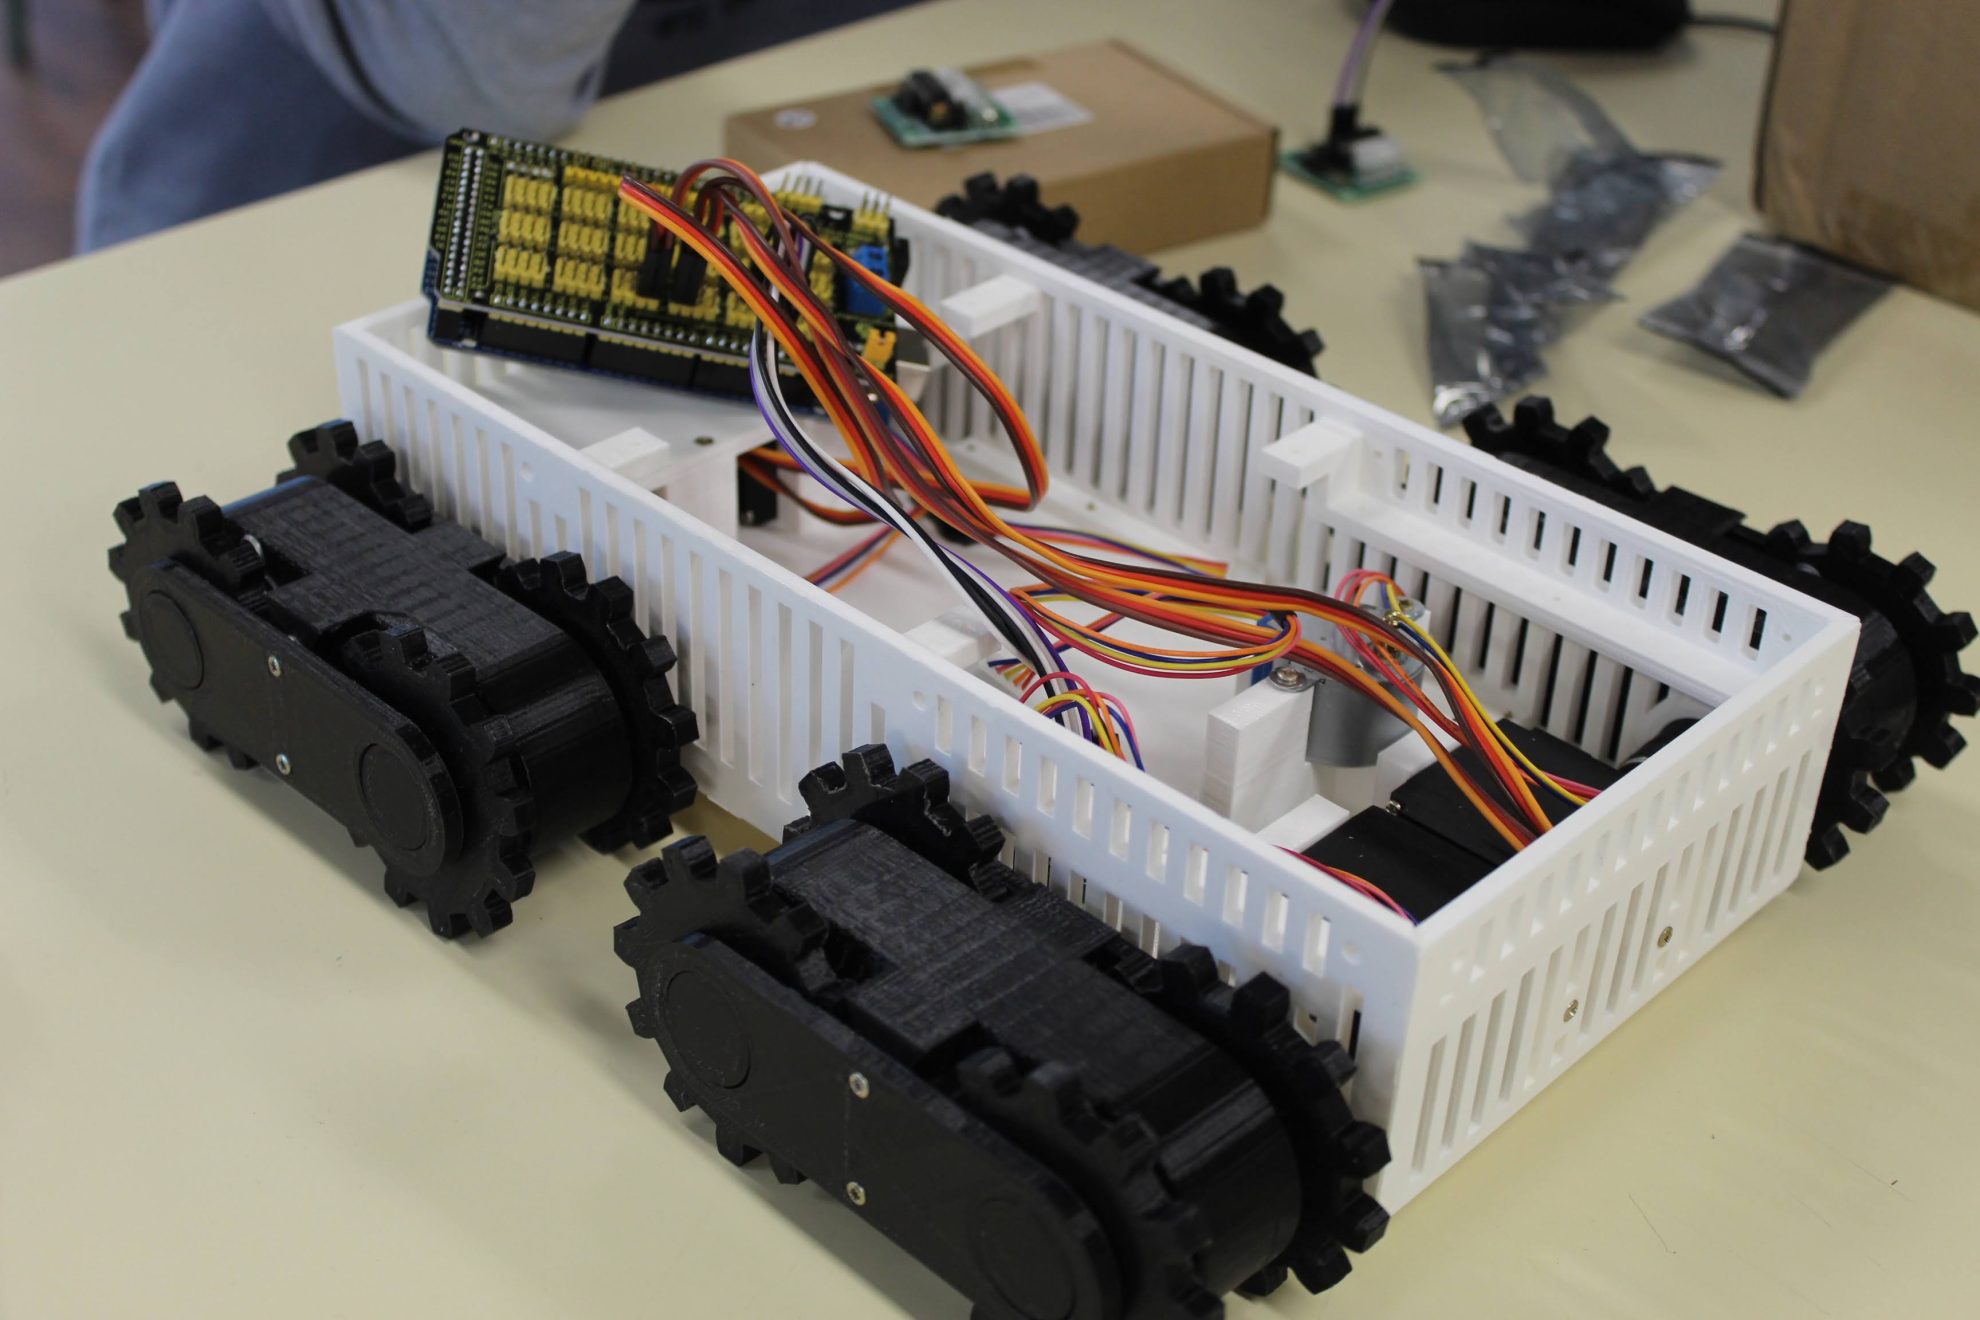
The base where the wheels/tracks are attached is rectangular in shape. The articulated robotic arm is also located inside the base and the microcontroller is responsible for managing the inputs/outputs and communications of the device.
Phase 2. Electronic Design
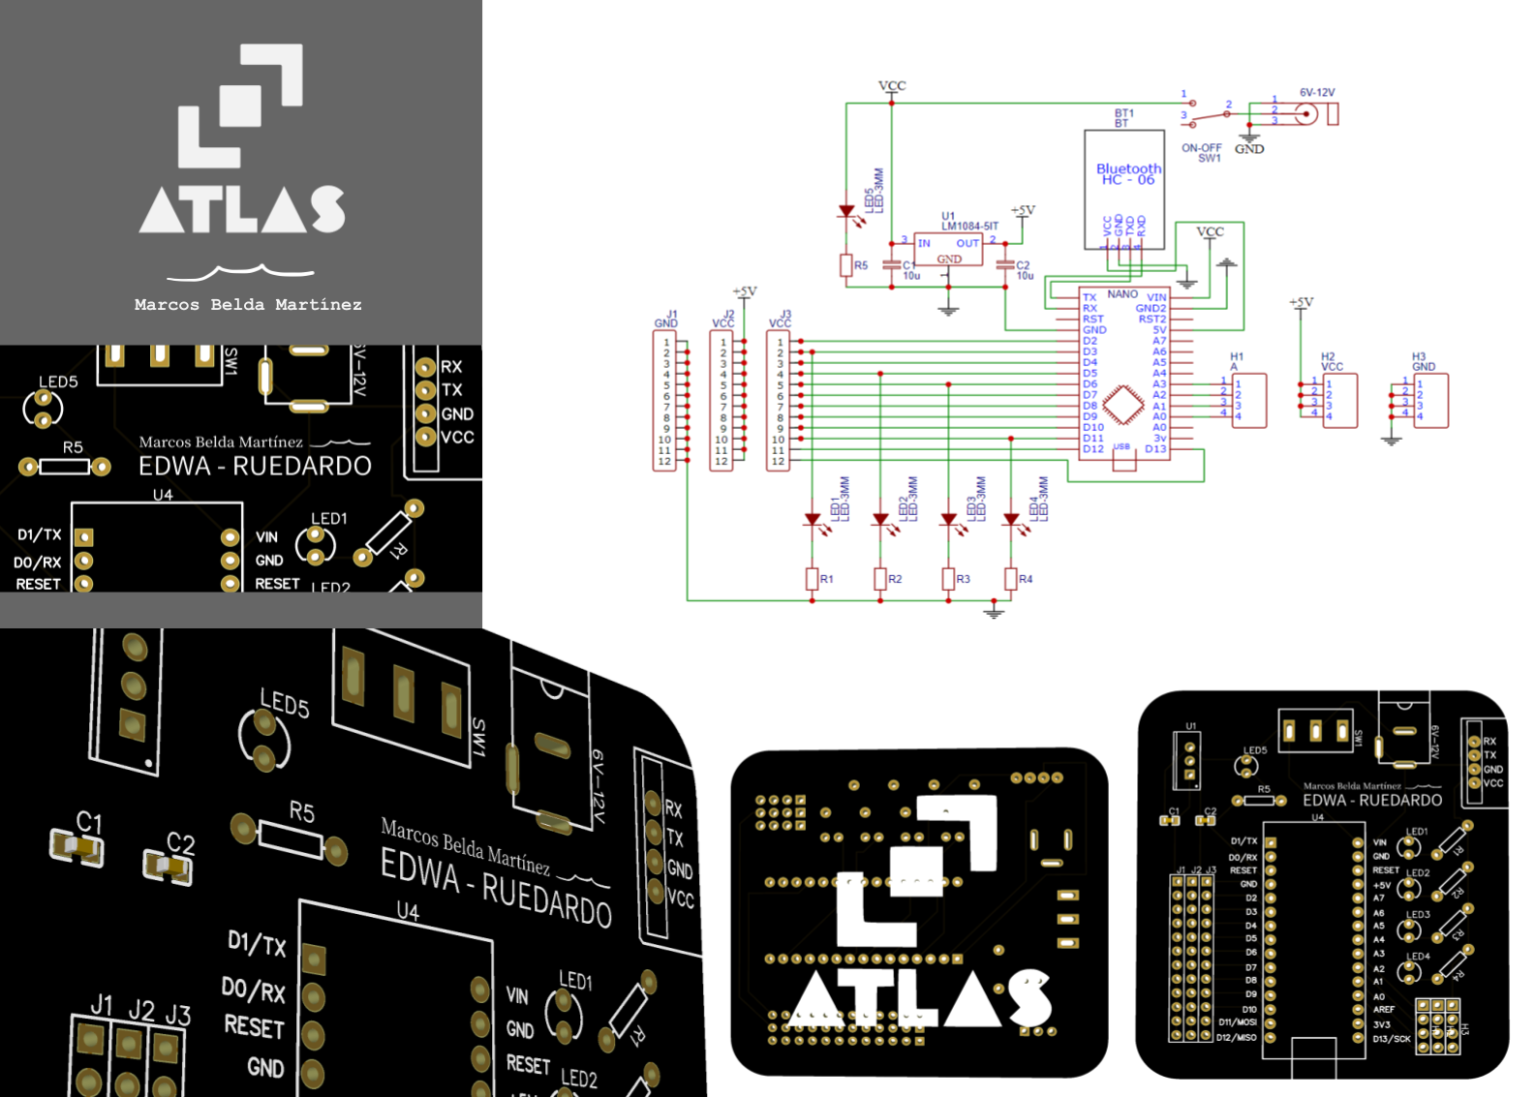
During this phase of the project, through the EasyEDA application, we learned to design electronic circuits and create PCBs or printed circuit boards from them.
It is a methodology that the teaching staff at our institute (IES La Patacona) had been implementing for years.
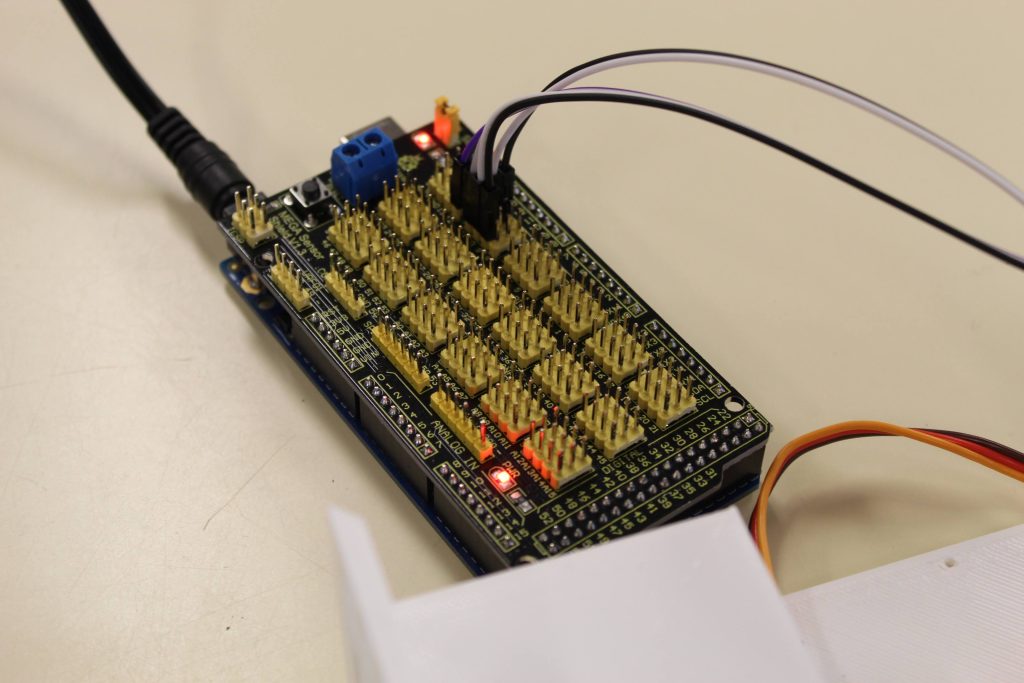
Initially, the robot was planned to be powered by an Arduino Nano microcontroller, but in the end we decided to use an Arduino Mega with a shield to connect all the necessary actuators. The reason for this change was that the Arduino Mega would provide a greater number of connections, and we realized that the Nano would not be sufficient for the project.
Phase 3. 3D design
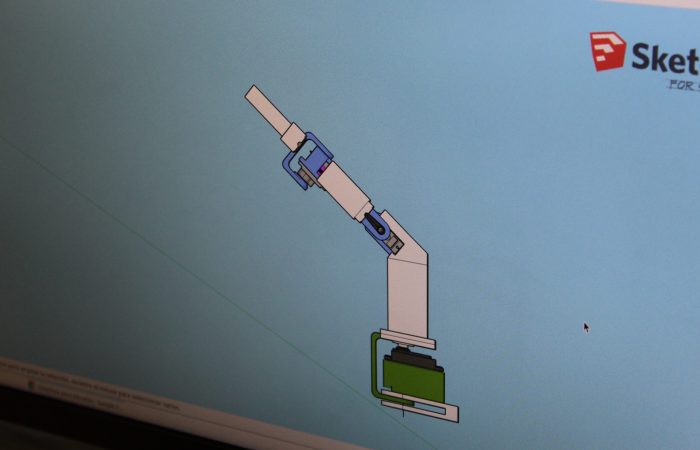
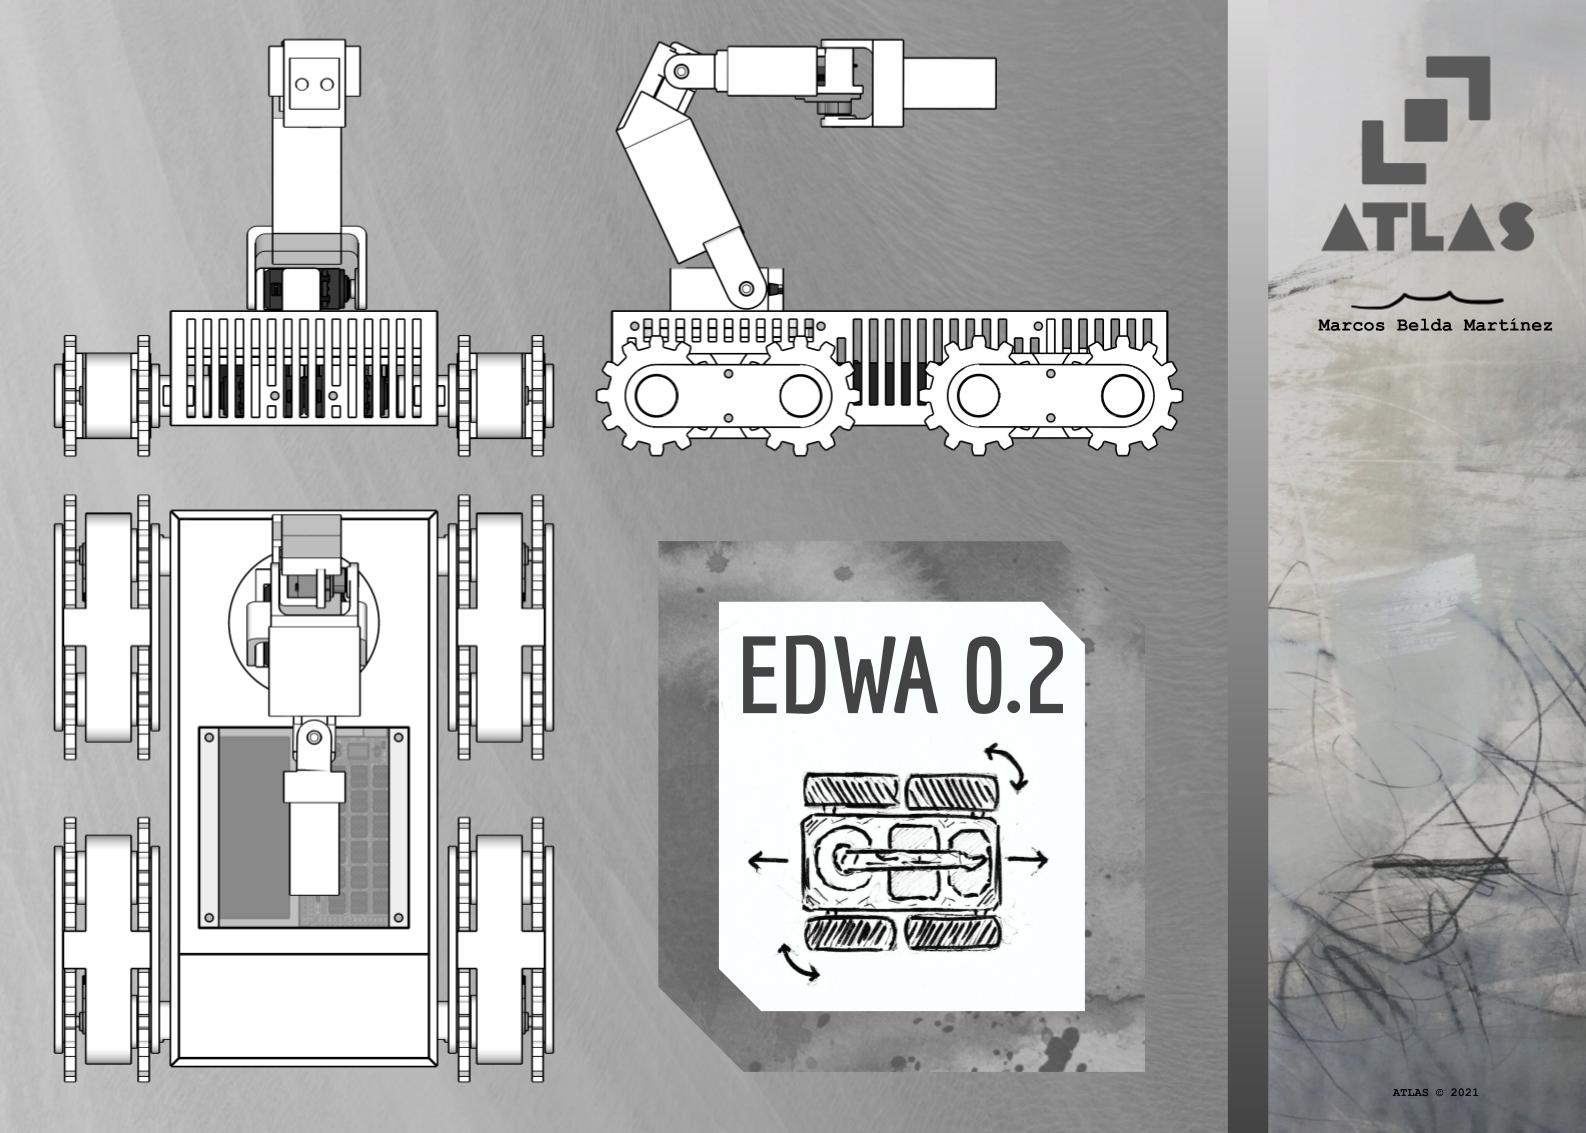
The entire structure has been designed from scratch with the SketchUp application (formerly Google SketchUp for schools). It is a 3D design application that we had already used previously during high school.
It is quite intuitive and easy to use, it has a library with objects where you can find servo motors, stepper motors, microcontrollers, etc.
This phase of the project consisted of finding an optimal distribution of all the elements of the mobile robot.
Phase 4. Simulation


Calculation of movements
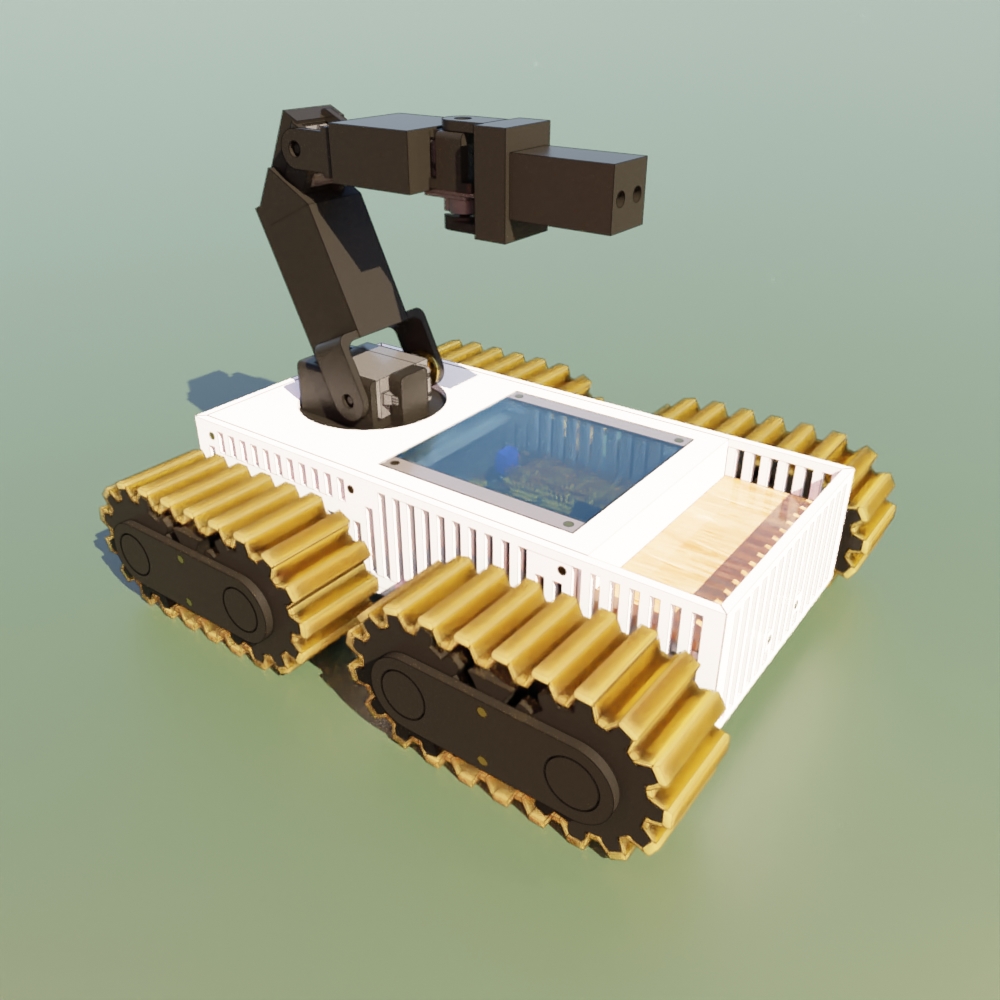
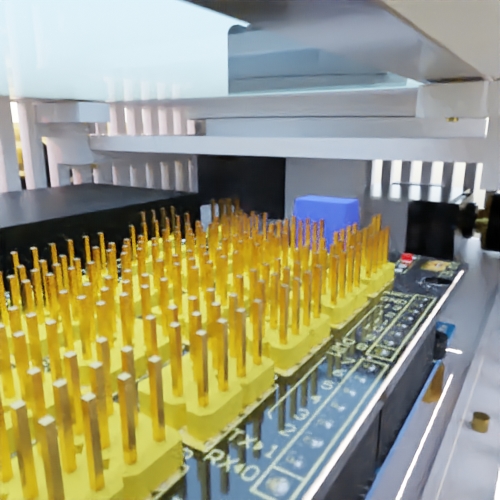
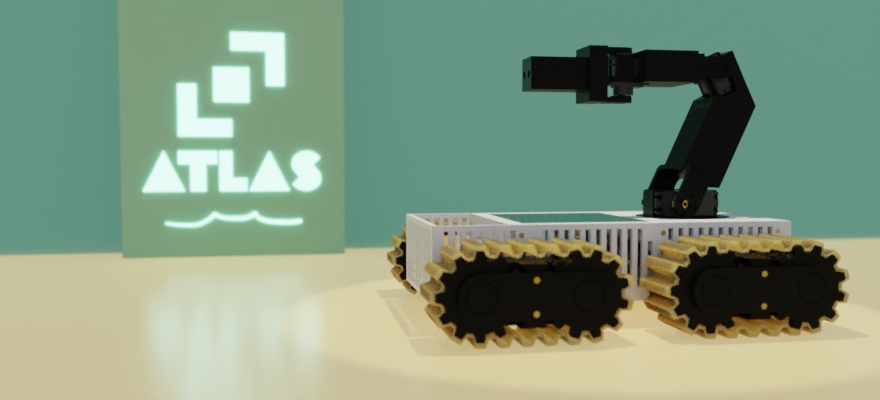
The simulation phase helped us design the different movements of the robot, which later would help us calibrate the servomotors during the programming phase.
To carry out this task, we did it thanks to the Blender application. In previous projects we learned how to render images with this software, but for the project we were asked to make some kind of animation of the expected result.
Phase 5. 3D Printing and Assembly
3D printing with Cura
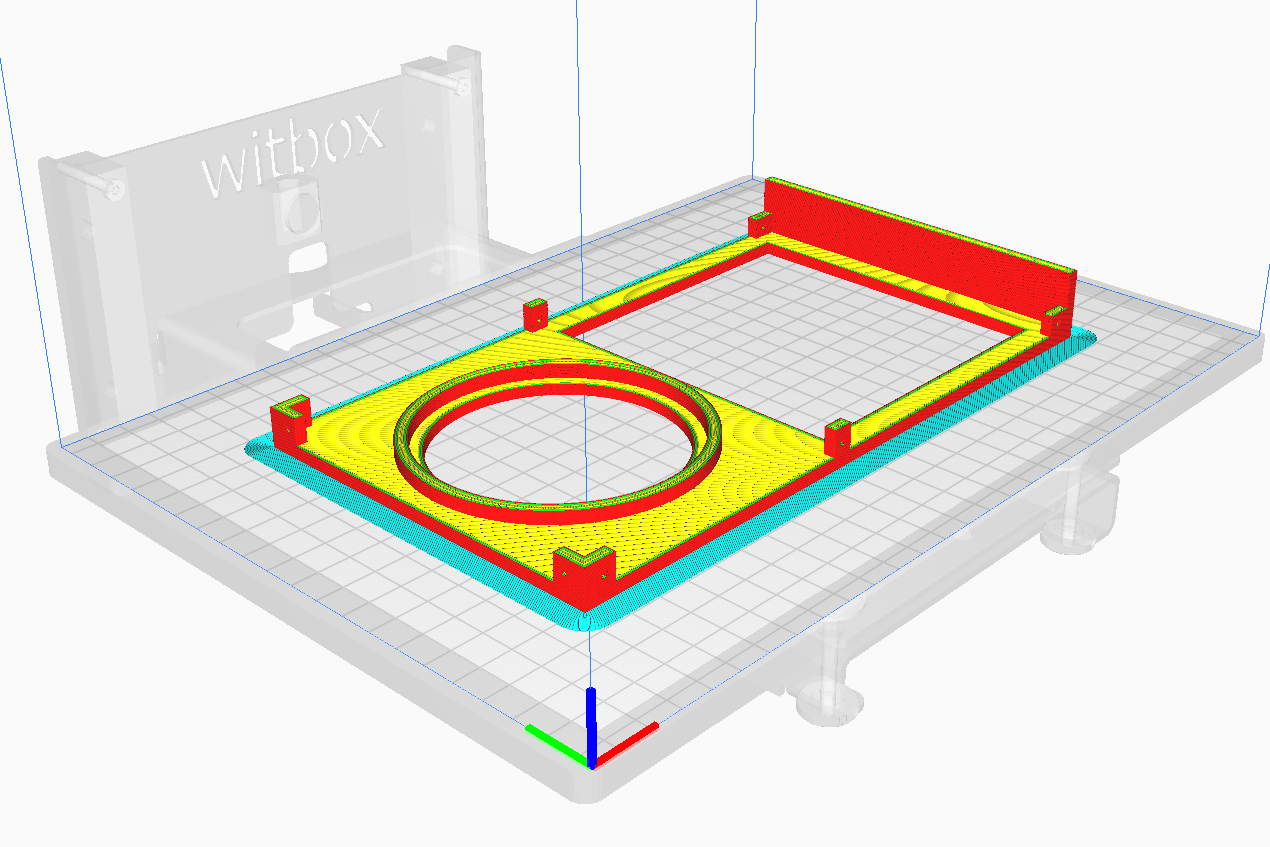
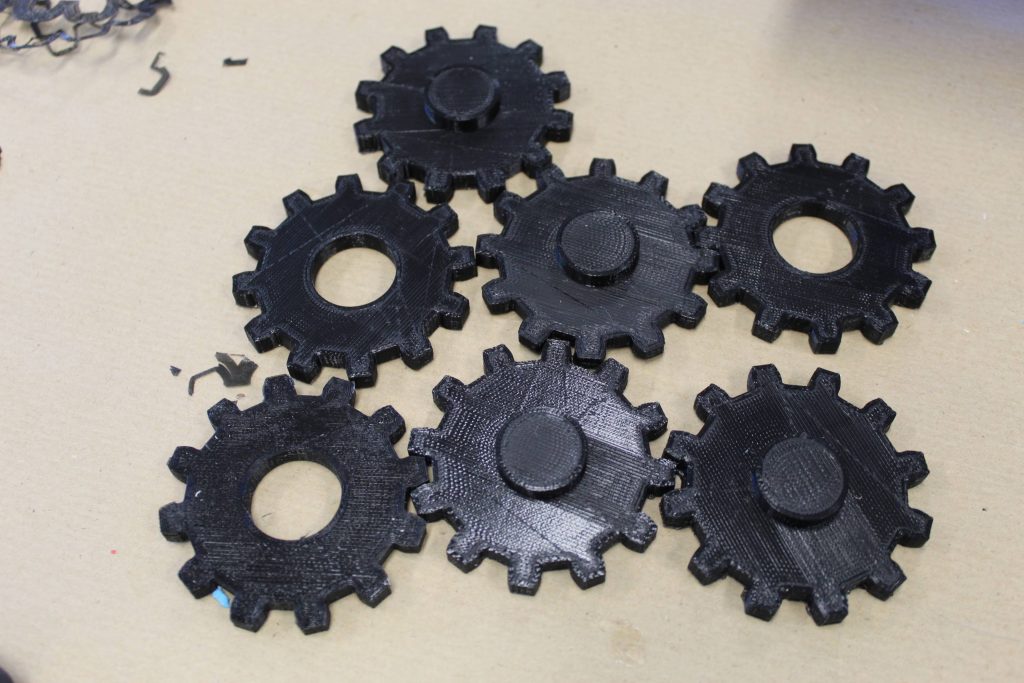
After the design phase, the next step was to build the prototype. To do this, we used the 3D printer in the technology classroom. First of all, we had to create the printing files from the SketchUp 3D models, to generate them we used UltiMaker Cura.
Prototype assembly
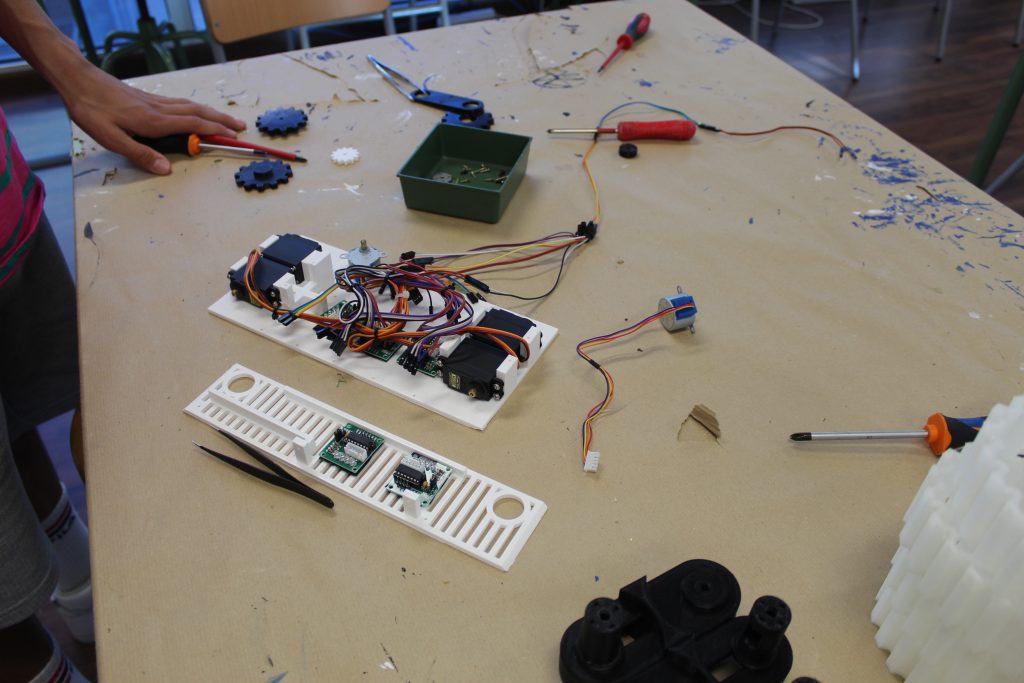
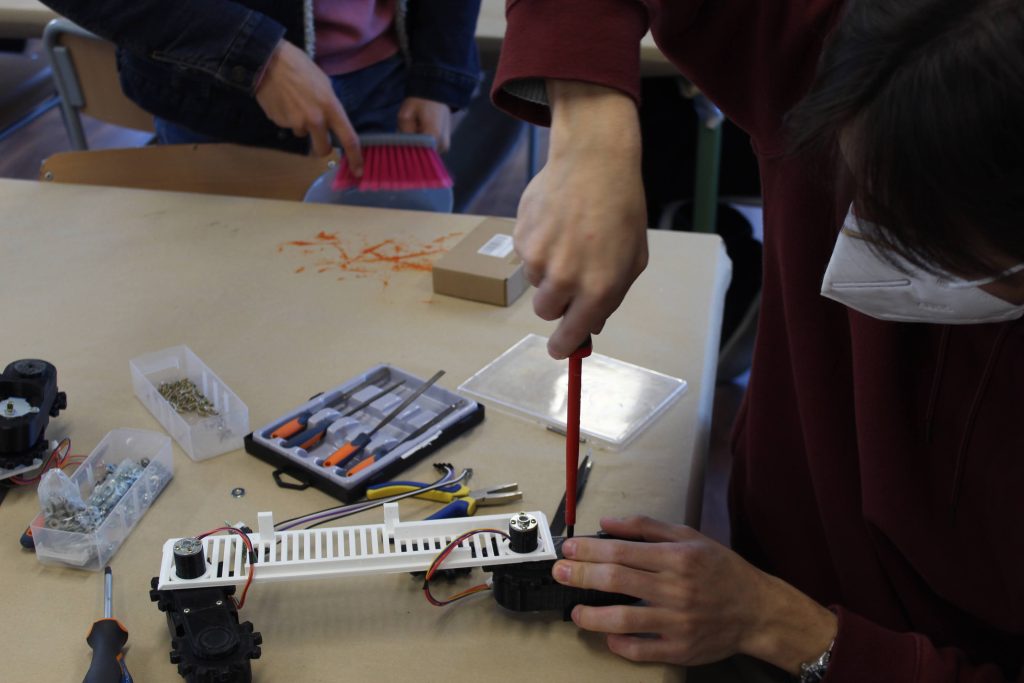
We assembled all the parts and mounted the electronics at the same time. As the components were placed, their correct operation was checked.
Fase 6. Programación
Working with Arduino
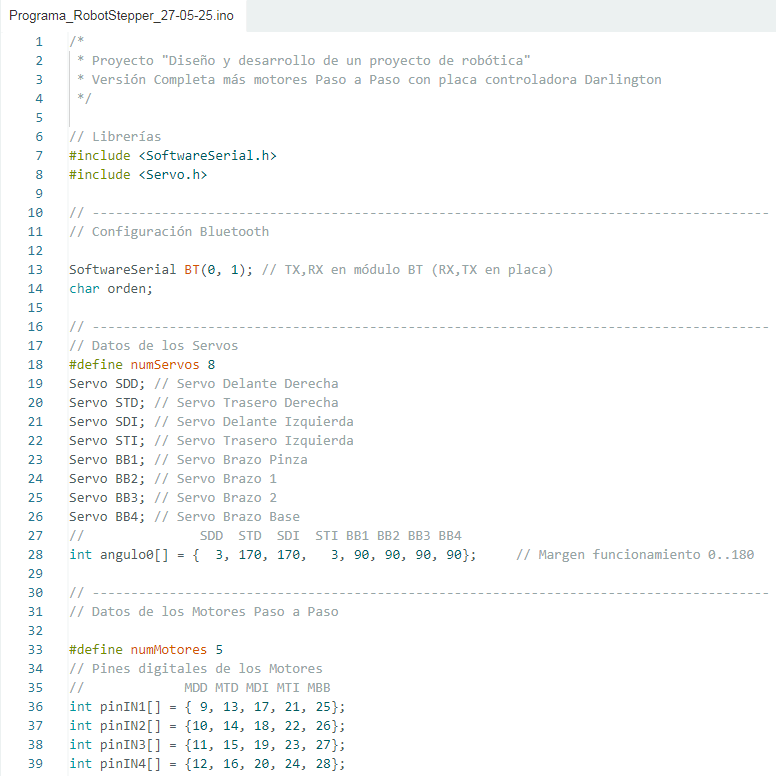
We had already worked with Arduino in previous years, but until now they had been simple projects. This year we learned how to use the Arduino libraries correctly and how to configure a board correctly.
Robot programs
In the code, sequential programs are created to perform the desired movements, such as moving forward, backward, rotating left, rotating right, climbing an obstacle, etc.
Each program is assigned a char variable (alphanumeric). When the robot receives an order (char variable), a simple switch/case is performed and the robot performs the action assigned to the variable.
Bluetooth communication
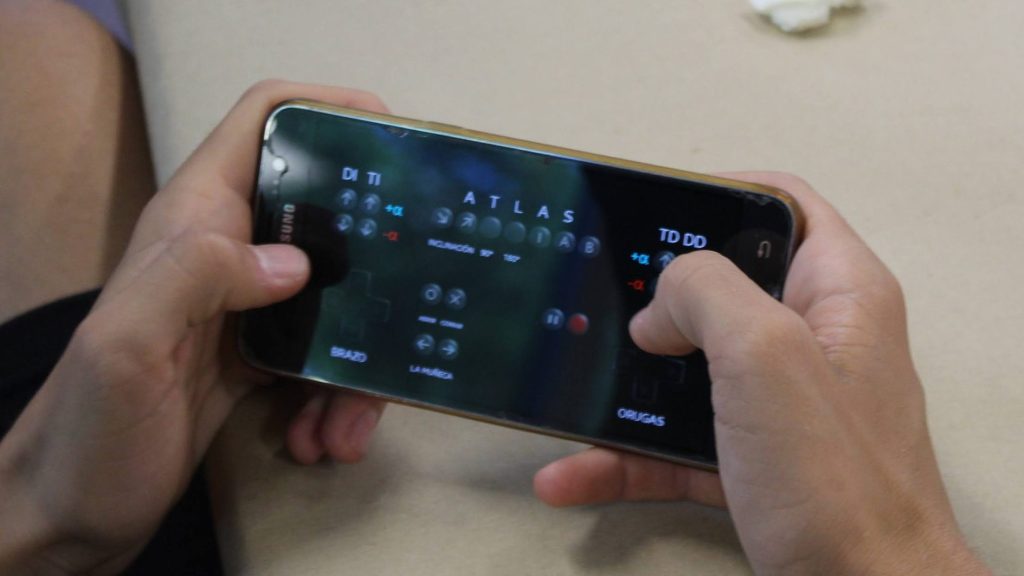
Using a Bluetooth module, we communicate with the robot and, using a mobile application, we design a menu with buttons. Each button is assigned to a variable of type char, and when the button is pressed, the corresponding variable is transmitted to the robot via Bluetooth.
Within the program, a loop is created that handles messages arriving via Bluetooth.
Phase 7. Final Result
New skills learned
Conclusions and future work
The Exploration Robot project has allowed us to apply and expand our knowledge in various areas such as electronics, 3D design, programming and robotics. Throughout the different phases, we have learned to work as a team, solve complex problems and adapt to new tools and technologies.
This project has not only prepared us for future academic and professional challenges, but it has also awakened in us a passion for exploration, technology and robotics in particular. In my case, this is what motivated me to study the degree in Industrial Computing and Robotics at the UPV.
Special thanks
This project would not have been possible without the help of our technology teachers, Jordi López Lluch and Elena Gil, as well as my teammates Ariel Baltanás and Álvaro Cortés.
Future work
- Design improvements: Optimize the structure of the robot to make it lighter and stronger.
- Advanced sensors: Integrate additional sensors to improve exploration and data collection capabilities.
- Autonomy: Develop algorithms that allow the robot to make autonomous decisions in unknown environments.
- Testing in real environments: Conduct tests under conditions simulating caves on the Moon and Mars to evaluate the robot's performance.
